
Buying A Home In The Winter: Everything You Need To Know
What You Need To Know About Buying a Home in the winter The spring market is often seen as the starting line when it comes
While this is a fantastic opportunity, this makes a lot of people we know weary to use it. There’s just so much to learn and figure out. This is why we wanted to break it down and make it a little easier to get started.
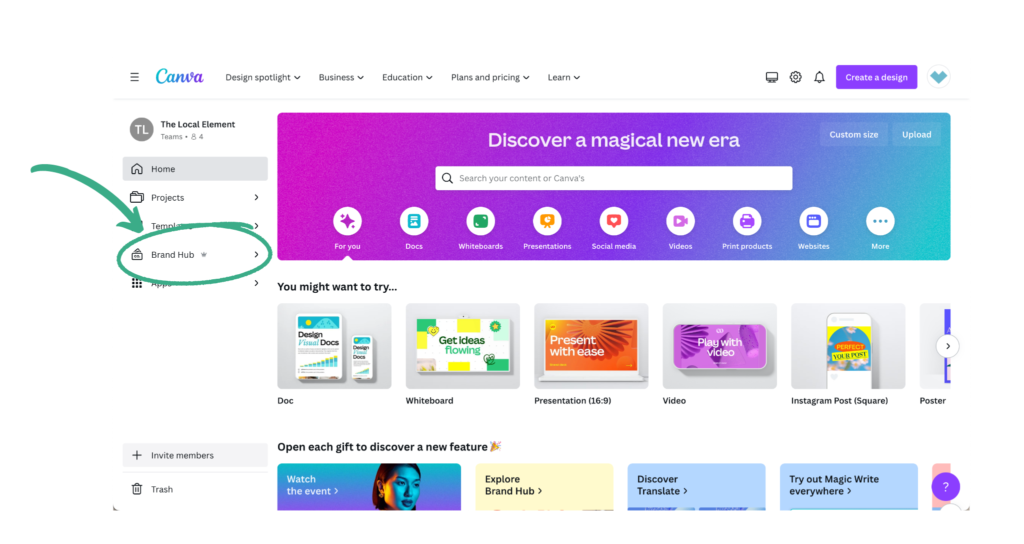
First thing we want to focus on is getting your Brand Hub set up! This will prepare you to make easy design decisions down the road.
Tip 1: Upload your logos
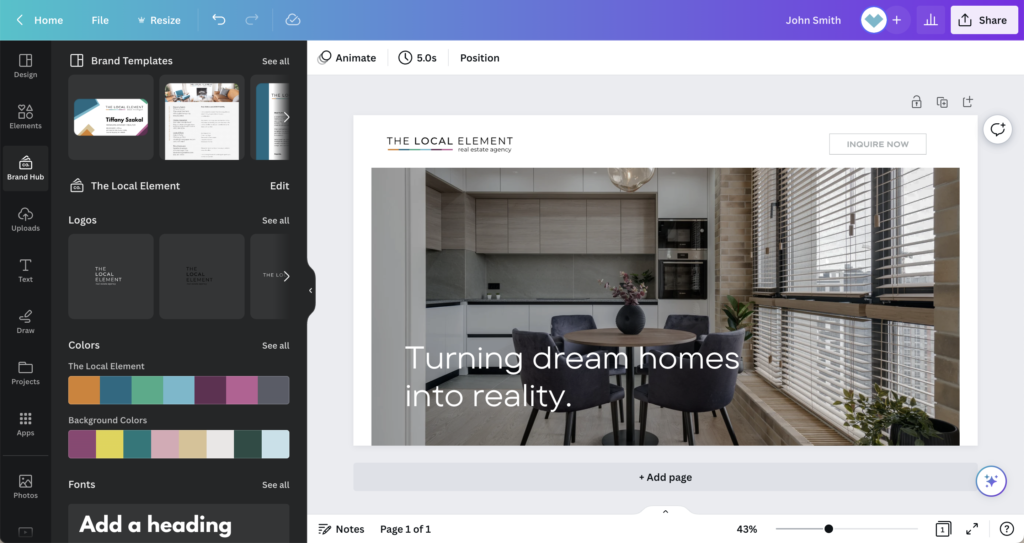
First and foremost, upload each of your logos into the Brand Hub! This will allow you to add your logo to EVERYTHING, which we know you want to do, easily. Once your logos are in, you can scroll along the left side of the page in your design to your Brand Hub and simply click or drag the logo you want to add it.
Pro Tip: Make sure your logos have a transparent background so that you can place them anywhere without dealing with a big white box behind it.
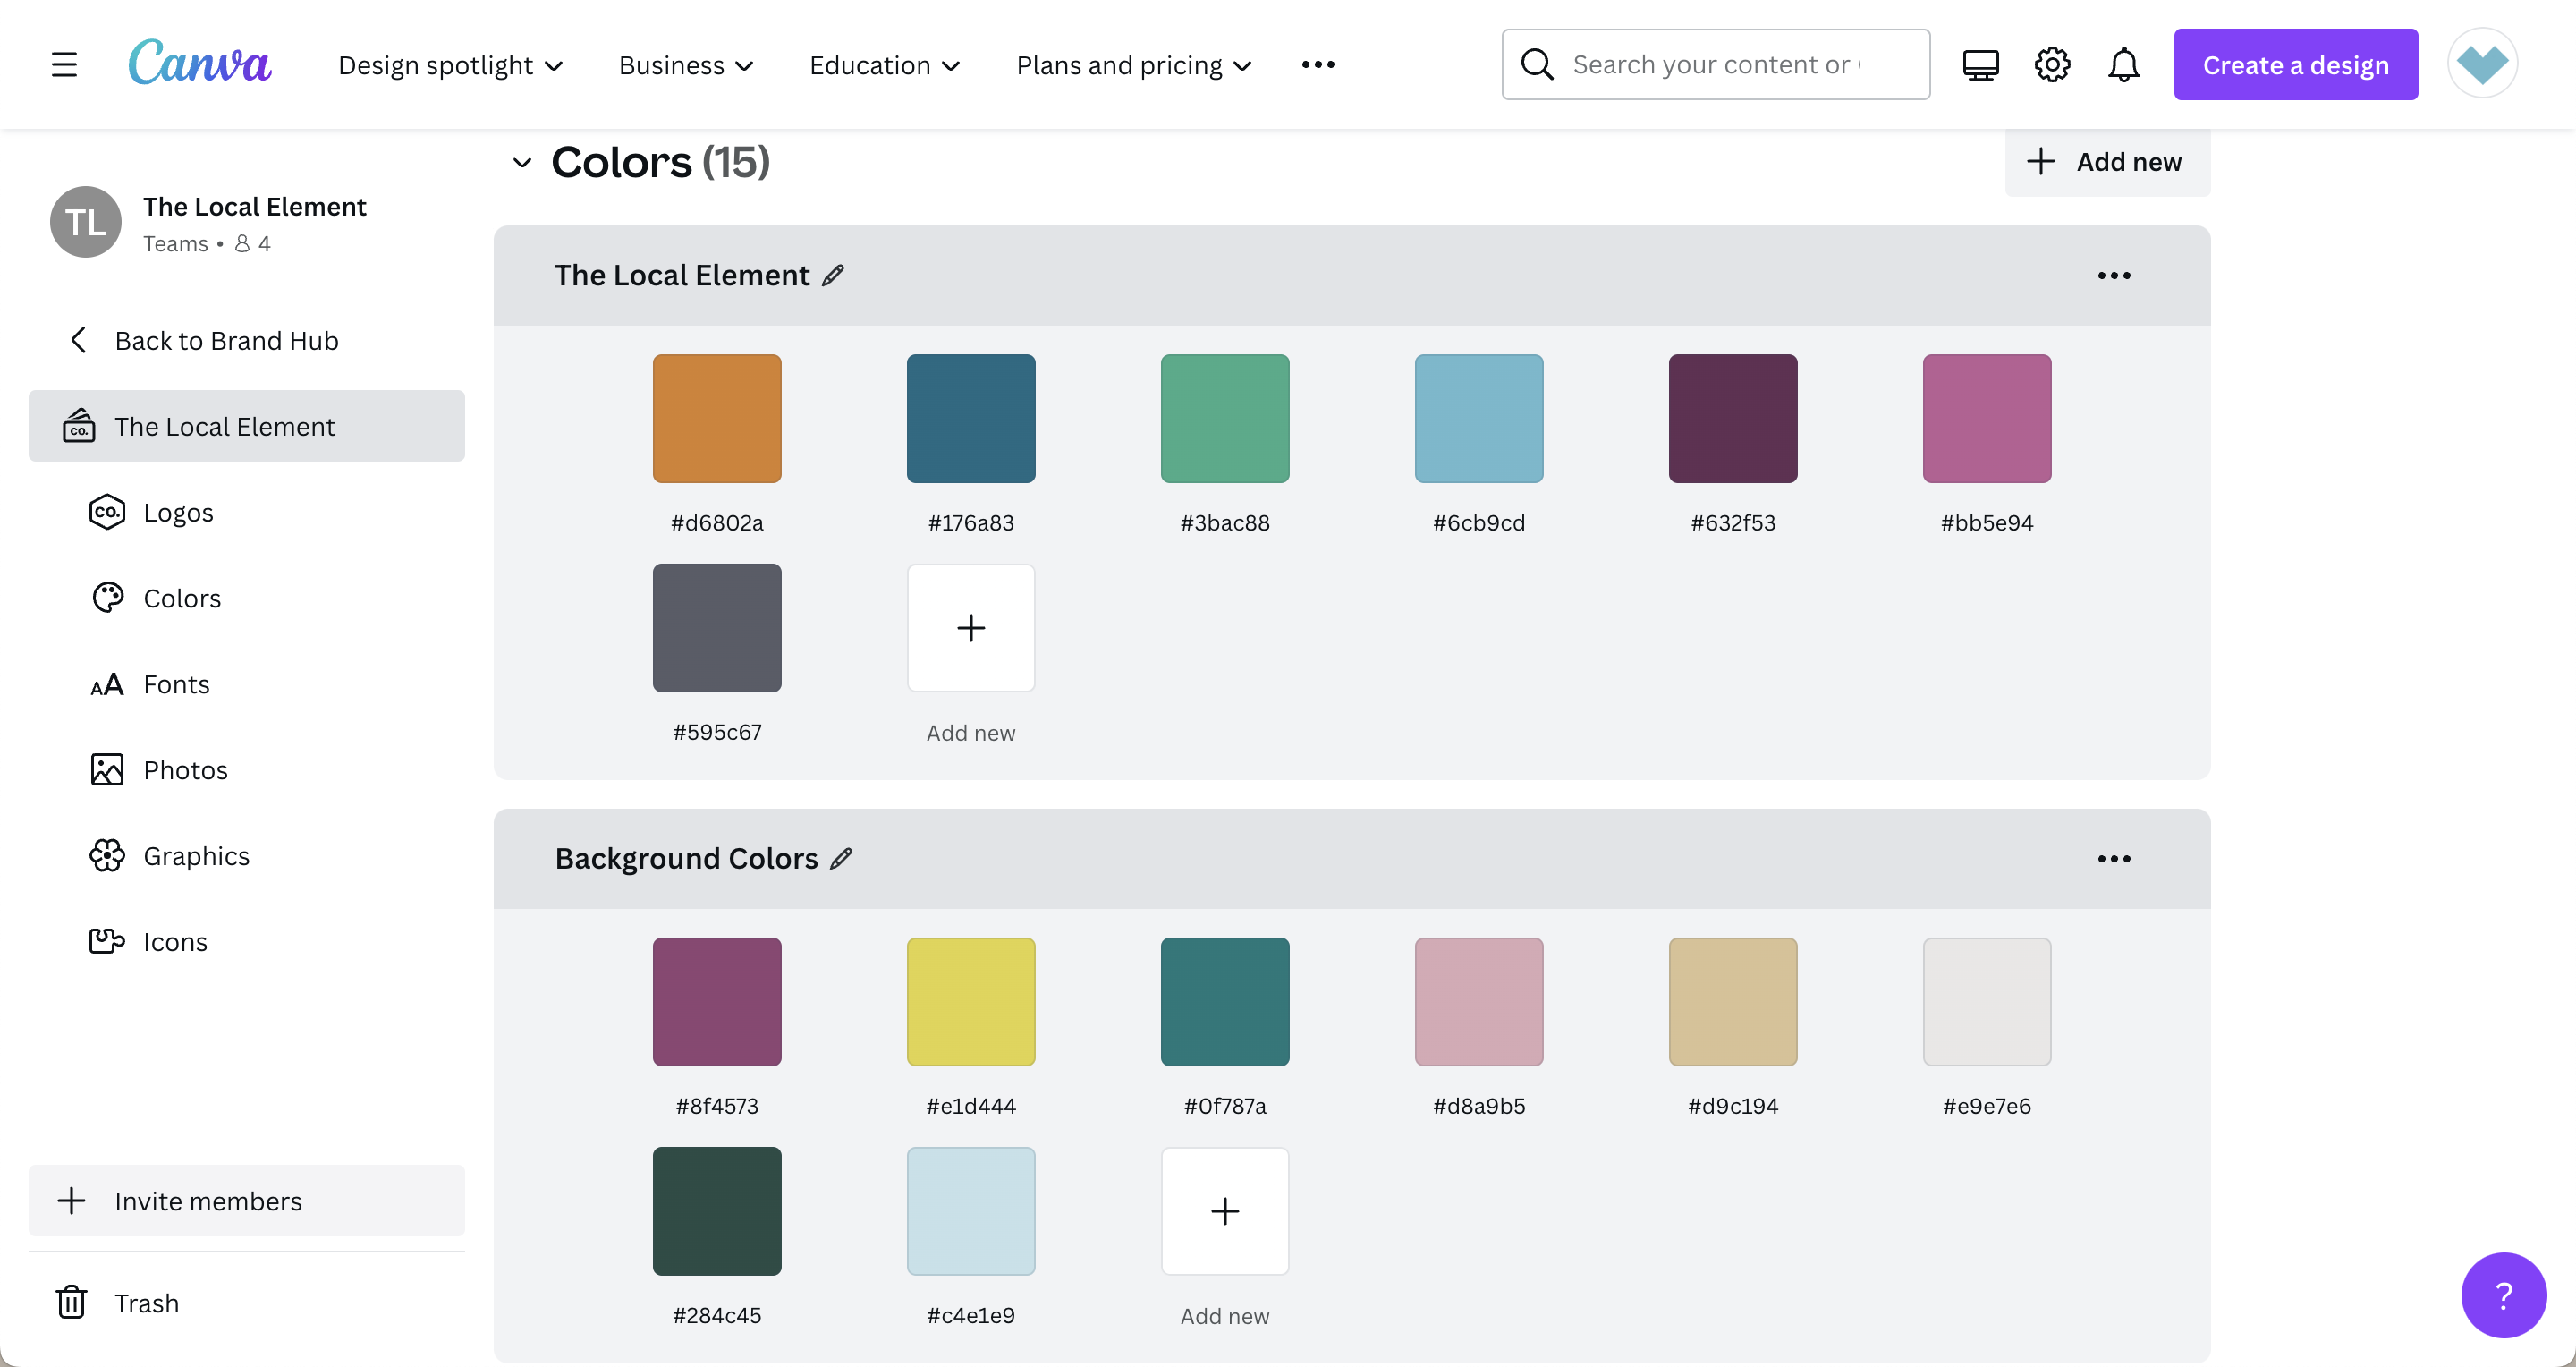
Tip 2: Upload your brand colors
Get your branded color hex codes and add them into your Brand Hub. This will allow you to quickly change all colors in your design and keep them uniform to your brand.
You can add multiple color combos in your Brand Hub as well. We use one for our main colors and an additional set to give other color options that also flow well so that we are not contained to only a few options.
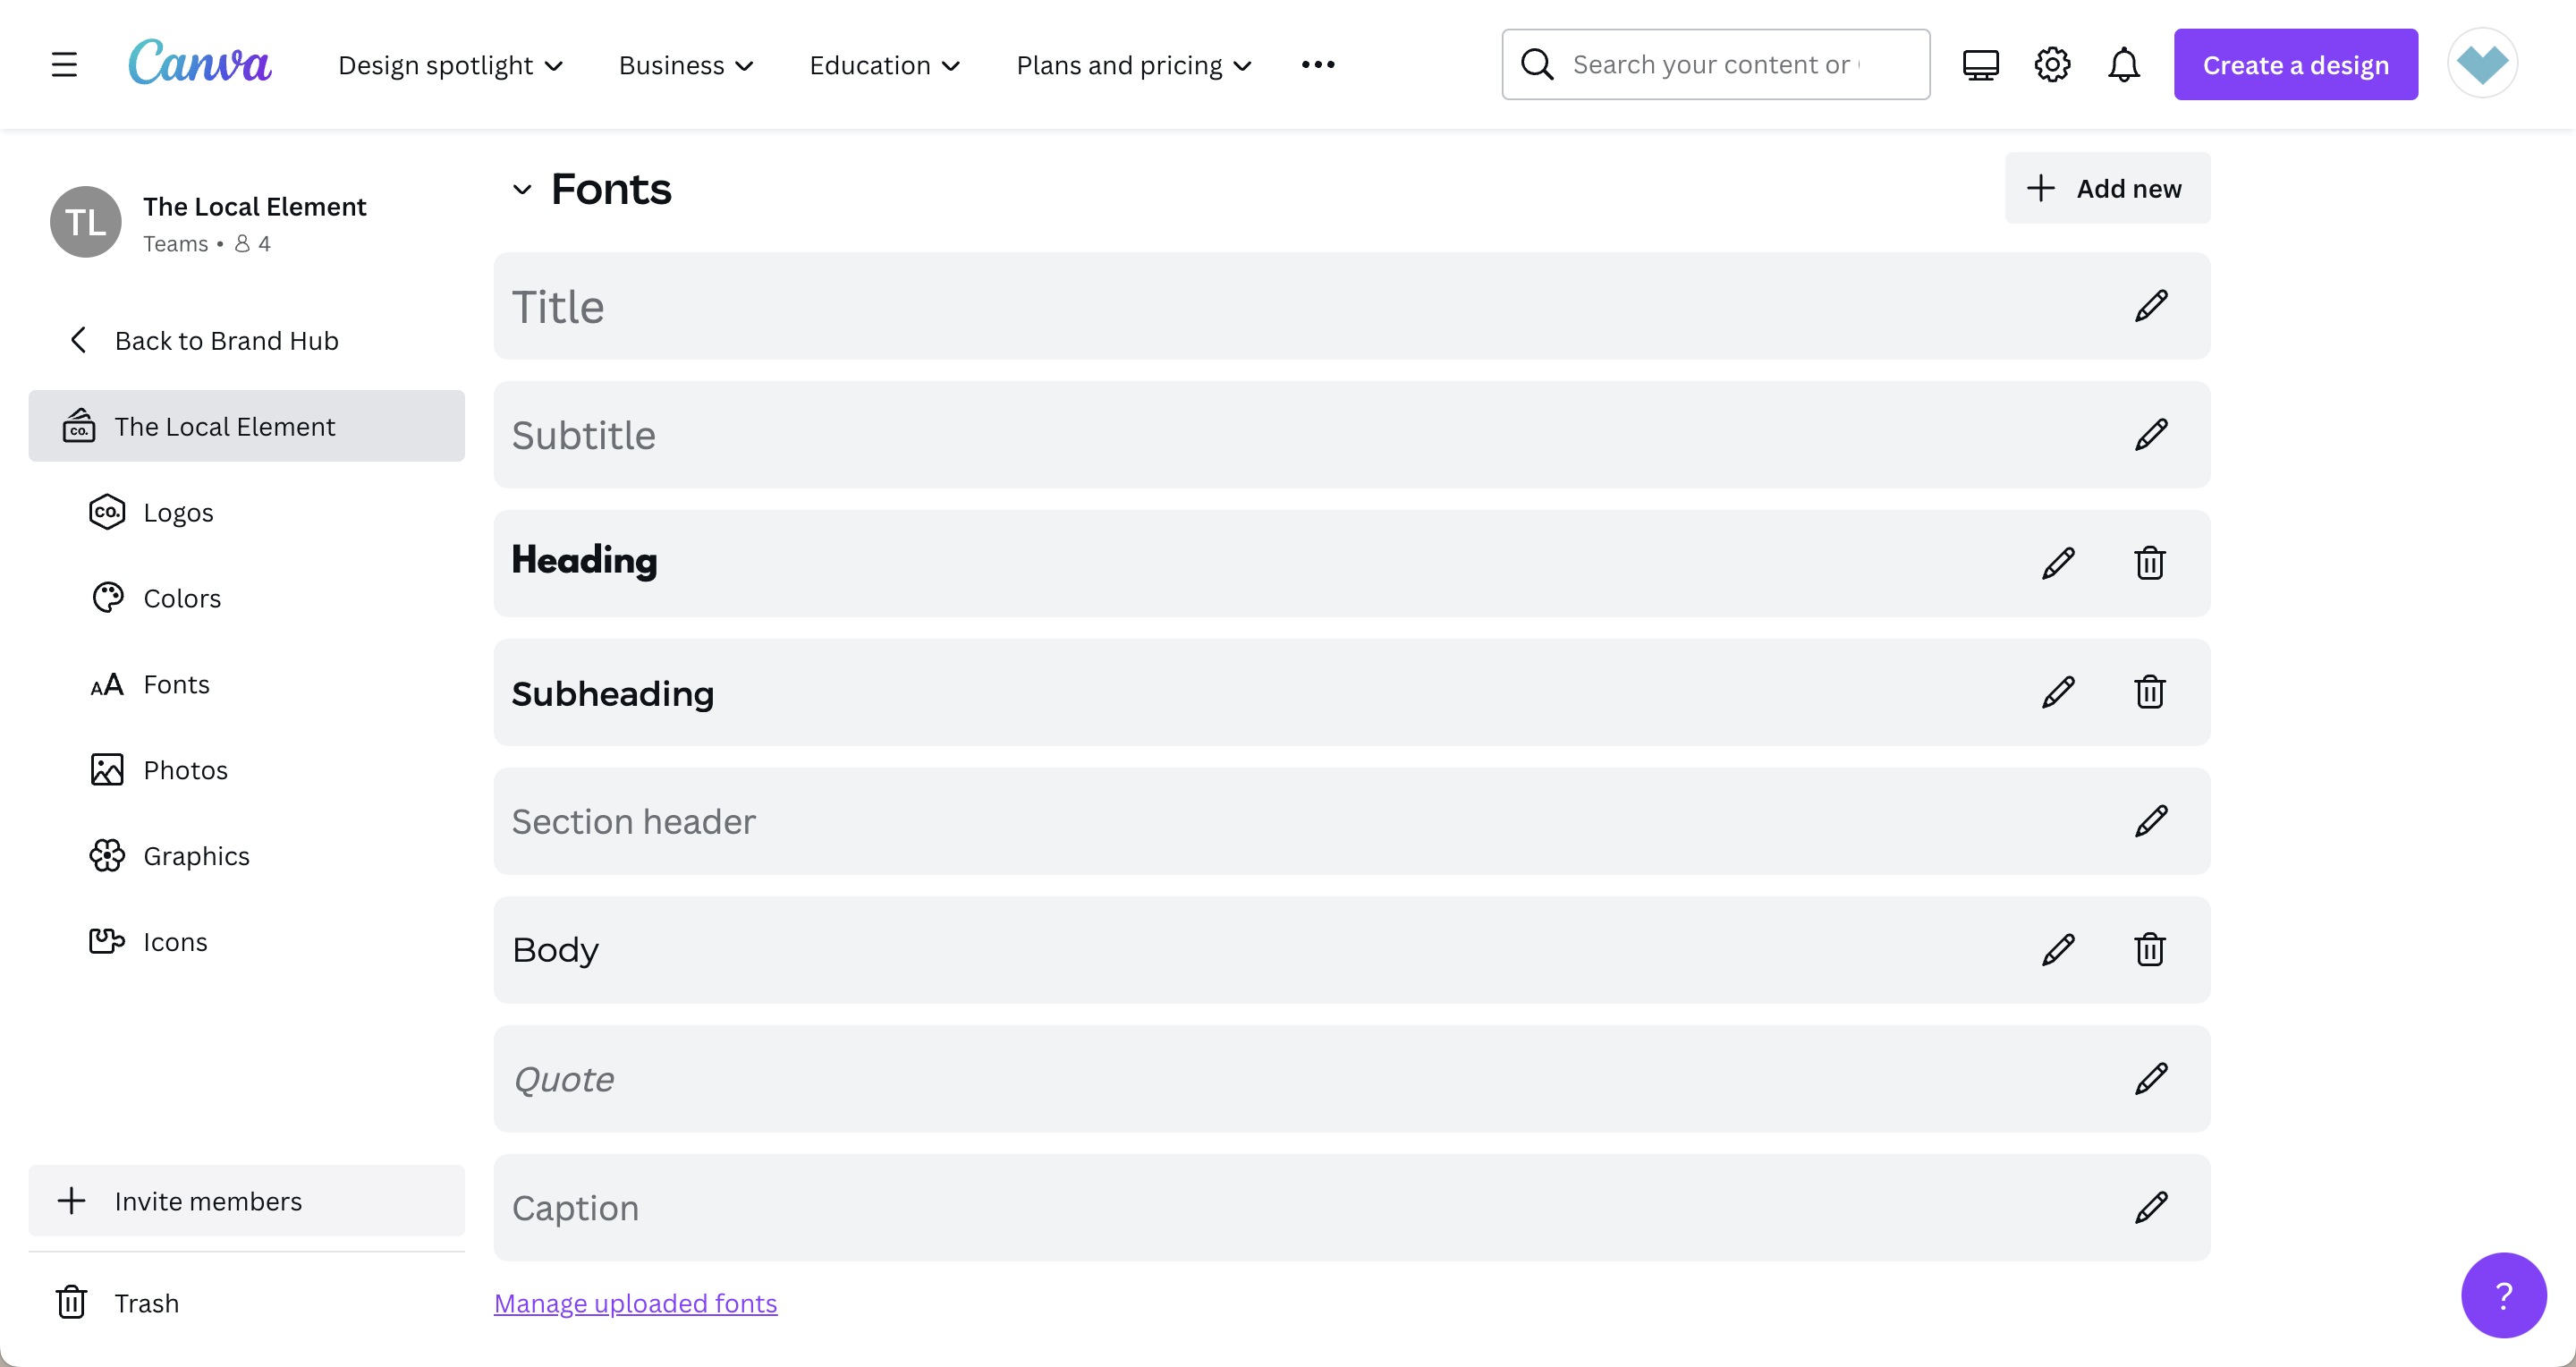
Tip 3: Choose your fonts for every situation
In your Brand Hub, you will find a section dedicated to fonts. In this section are options for Title, Subtitle, Heading, Subheading, Section Header, Body, Quote, and Captions. You can choose a font for each type so that when you begin adding text, it will automatically default to your branded fonts!
In addition, you will be able to upload fonts if they are not already in Canva. This can help you to stick to your unique brand!
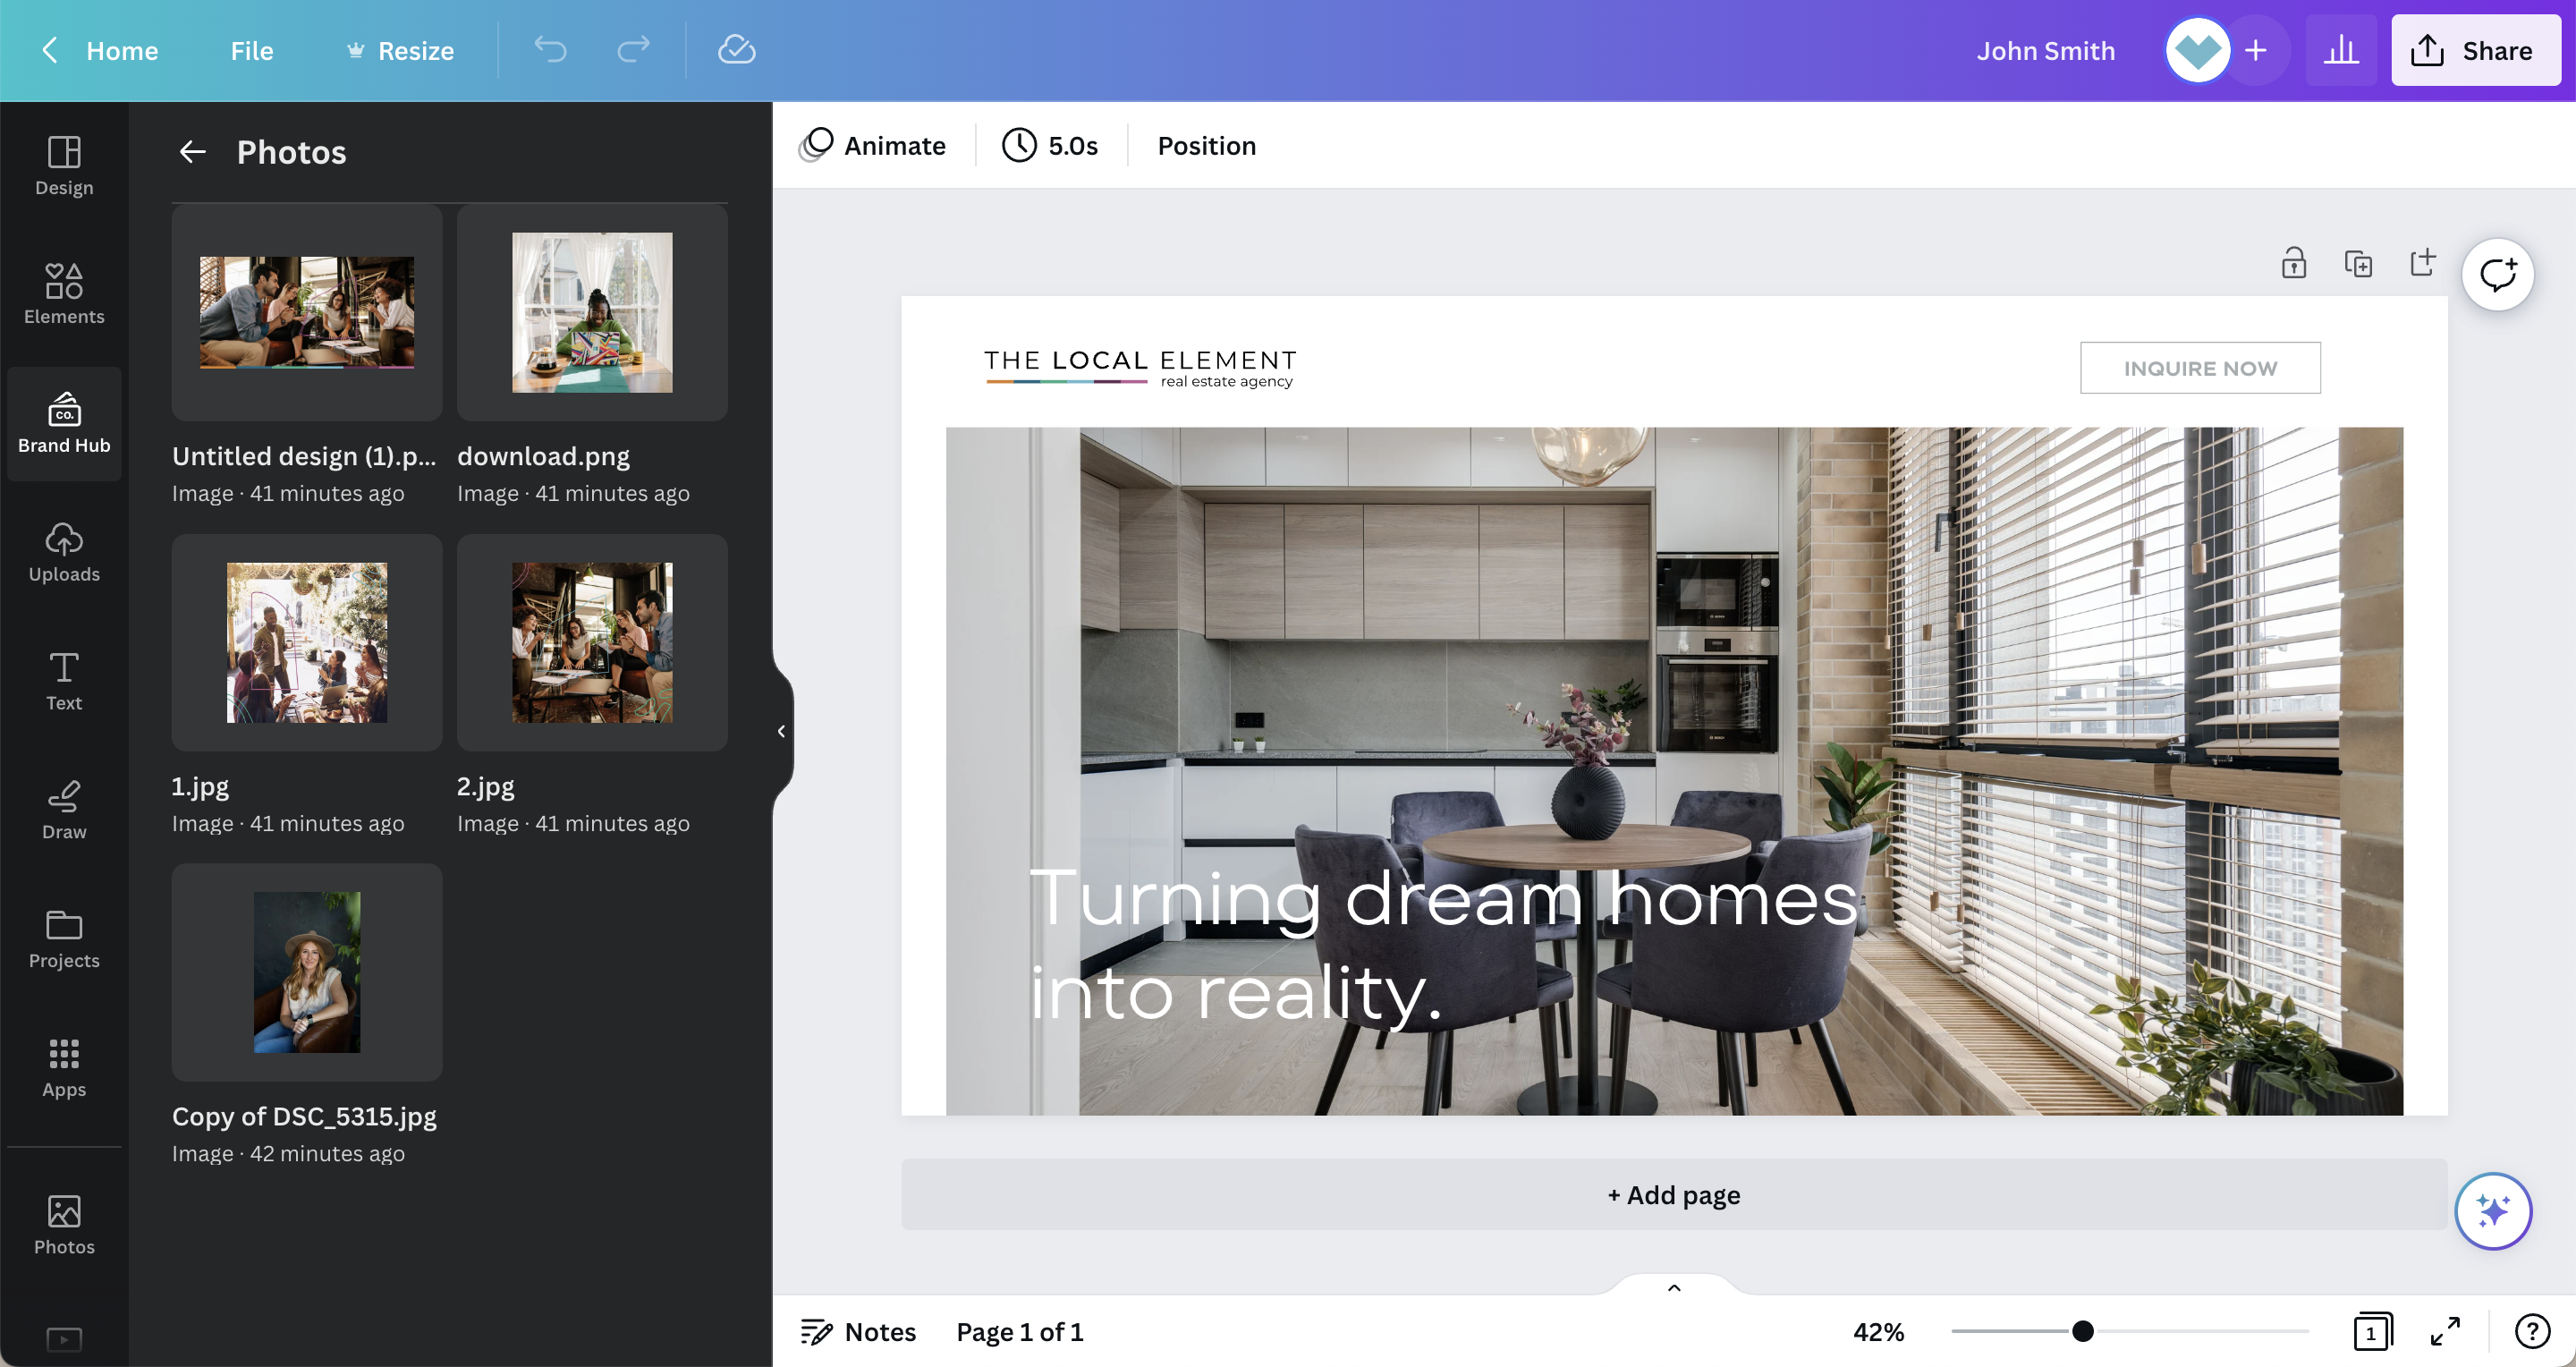
Tip 4: Upload branded photos
I can’t speak for you, but we have specific photos that we use regularly in our branding. These photos show off exactly what our brand represents. Having quick access to these images is extremely helpful when creating designs in Canva.
To keep everything together and easy-to-use, we suggest uploading your favorite photos to your Brand Hub. Now when you go to look for these images, you can simply click on your Brand Hub and enter the image. No more digging around for those photos in your uploads or having to find and re-upload the same photos over and over.
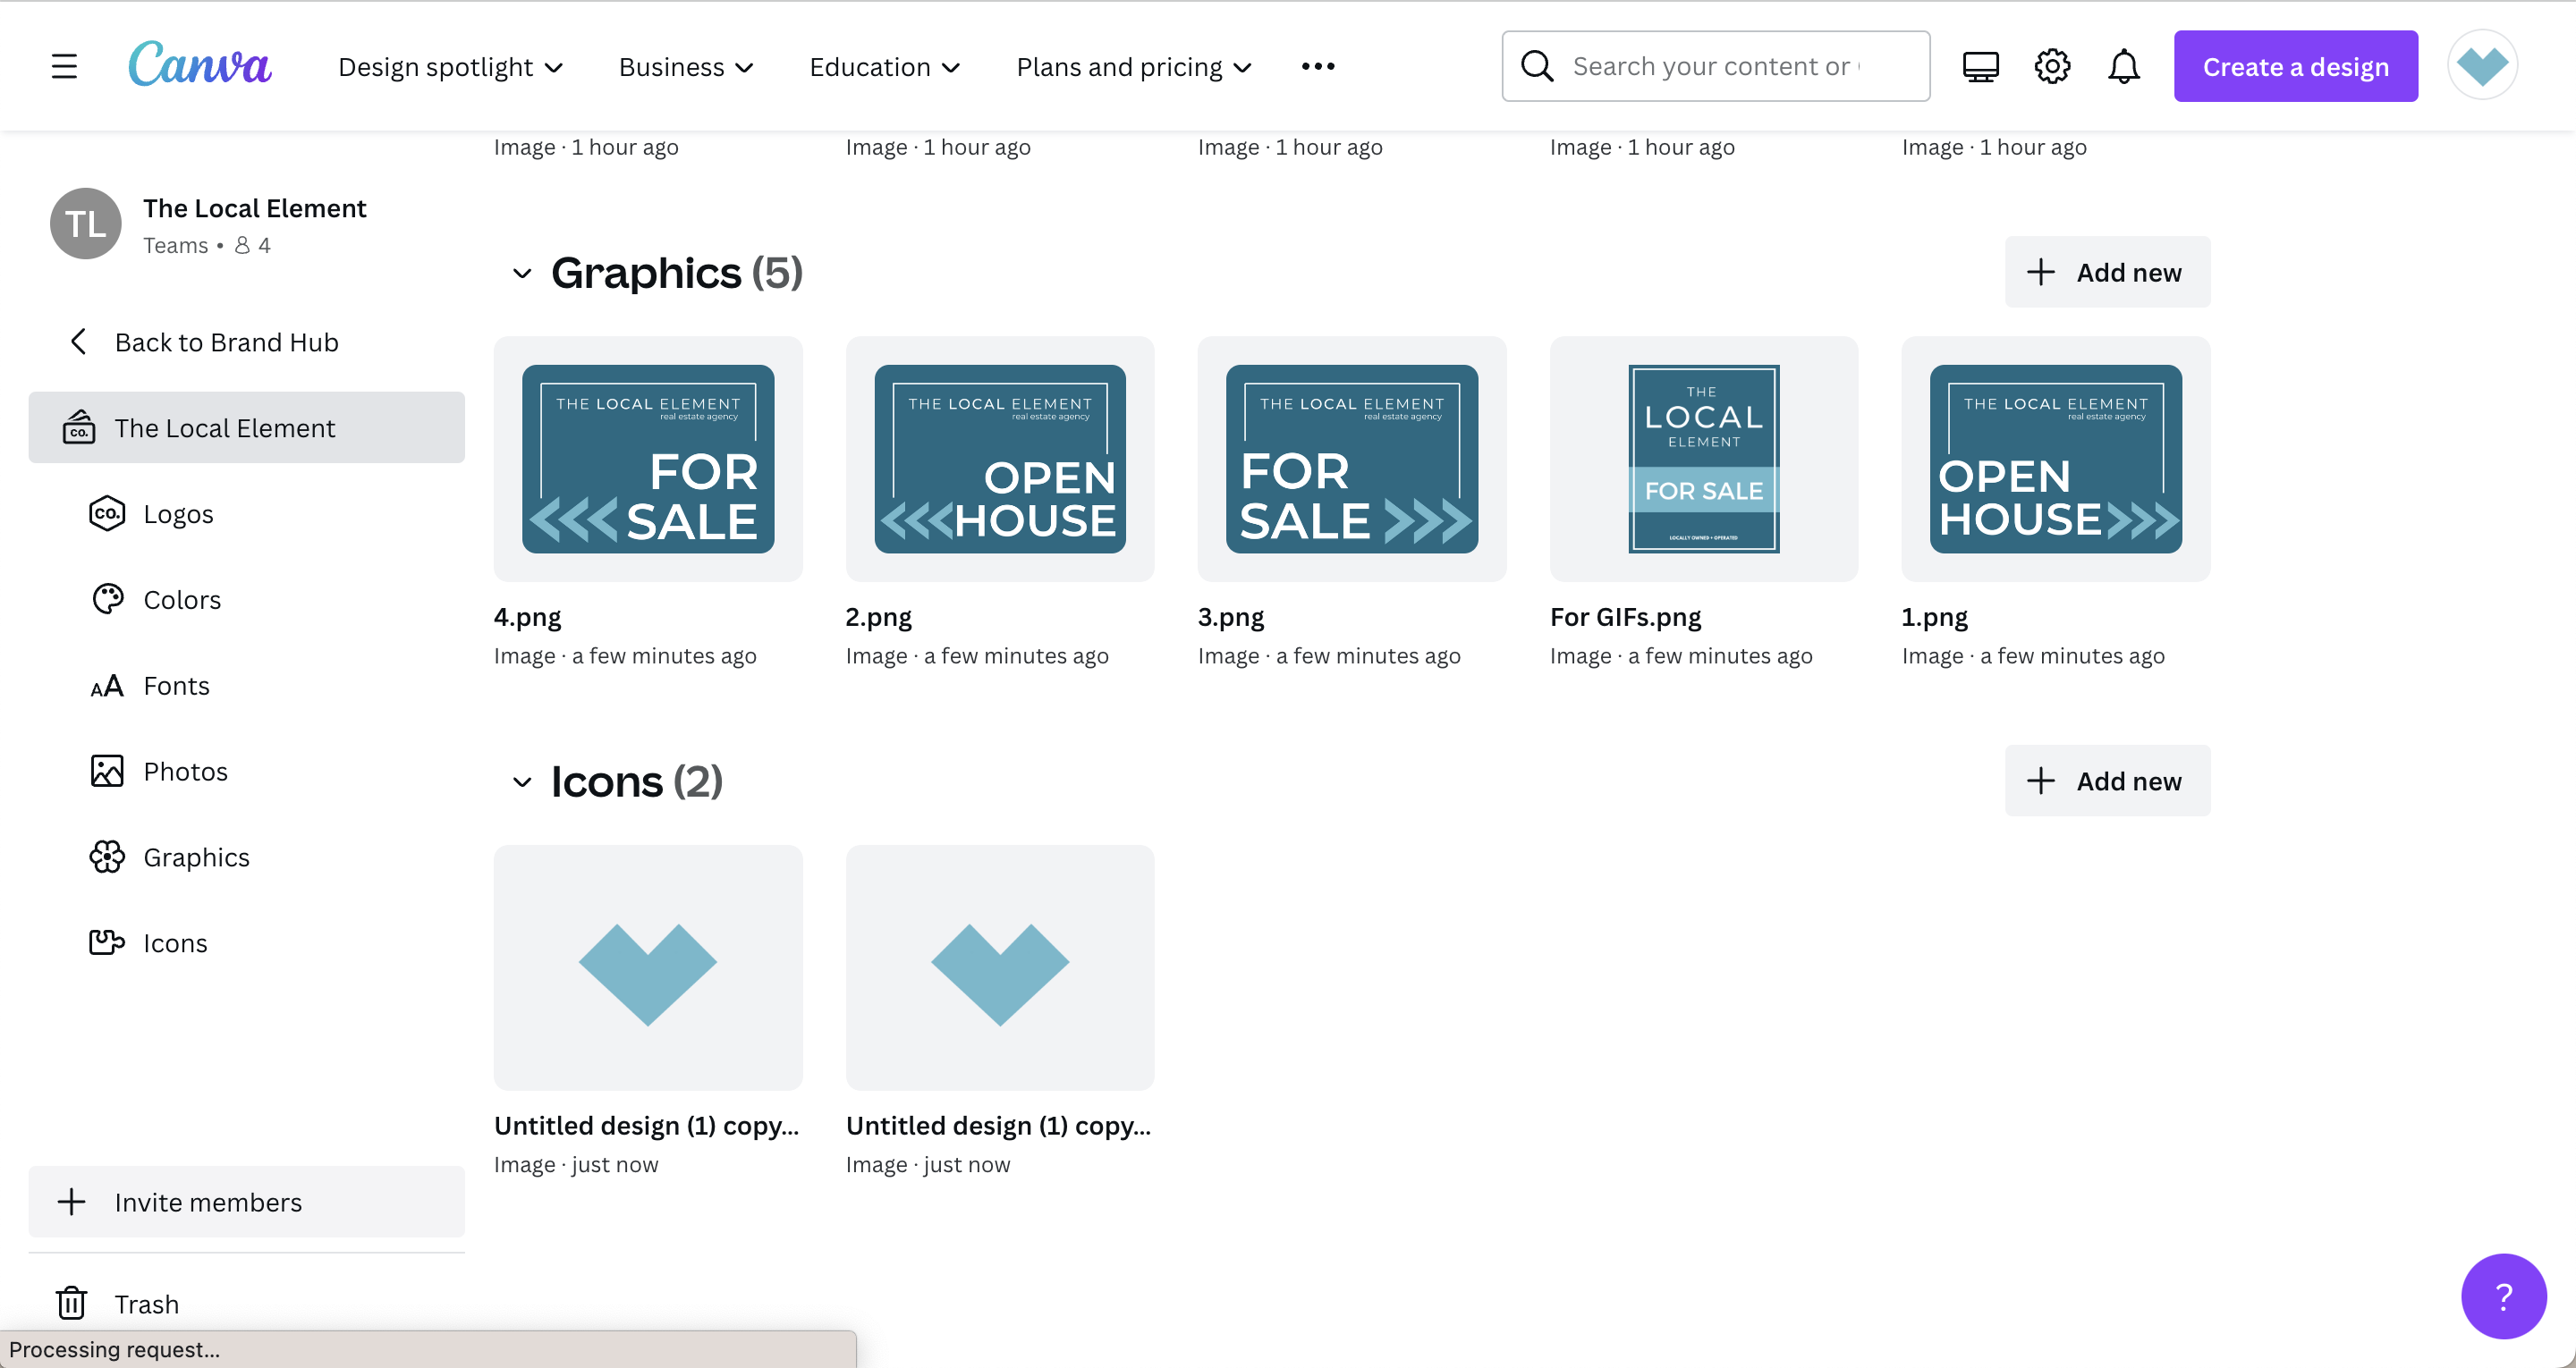
Tip 5: Upload graphics and icons
Just like the tip above, we suggest uploading your favorite and regularly used graphics and icons to your Brand Hub. Whether it be graphics you use all the time, custom made graphics, or maybe an icon in specific colors, this will help you save time and effort when using Canva.
Each of these steps seem like a simple task. It’s possible to think it will take too much time to set up your Brand Hub.
We can promise you that if you consistently use Canva, it will be beneficial for you to take the little time to set this up rather than having to always type in hex codes or search for the perfect photo.
That time adds up quicker than you think. Plus, doing the brain work now will save you from getting lazy with your unique brand!
Learn additional tips for using Canva as a real estate agent HERE!
Learn more about creating your Brand Hub here:
Please feel free to share it on your favorite platform:

What You Need To Know About Buying a Home in the winter The spring market is often seen as the starting line when it comes

3 Ways To Use The New Year As A Fresh Start For Your Real Estate Business The New Year offers one of the best spots

6 Ways to Take Your Real Estate Career to the Next Level Feeling stuck or maybe a little stagnant in your real estate career? It’s